Browning is not a race to the highest setting. Give the pan time to settle, manage moisture, and adjust the heat as the food changes.
By Cookin · 26 September 2026 · 7 min read
Heat control means putting enough energy into the pan for the job, then changing that input as the pan and food respond. The dial is only an instruction to the stove: a heavy cast-iron pan, a light non-stick pan and a clad stainless-steel pan will not reach or shed heat at the same rate. Watch the food and fat, not just the number beside the knob.
What low, medium and high heat actually do
Low heat supplies energy gently. Use it to hold a quiet simmer, soften ingredients without colour, or keep a finished sauce from catching.
Medium heat gives the pan time to heat evenly and suits most everyday frying and sautéing. It is also the safest place to begin when you do not yet know how quickly a pan responds on your stove.
Higher heat builds a crust quickly, but it is a short working phase rather than a default. If the fat smokes aggressively or food blackens before the centre cooks, the pan has more heat than the job can use.
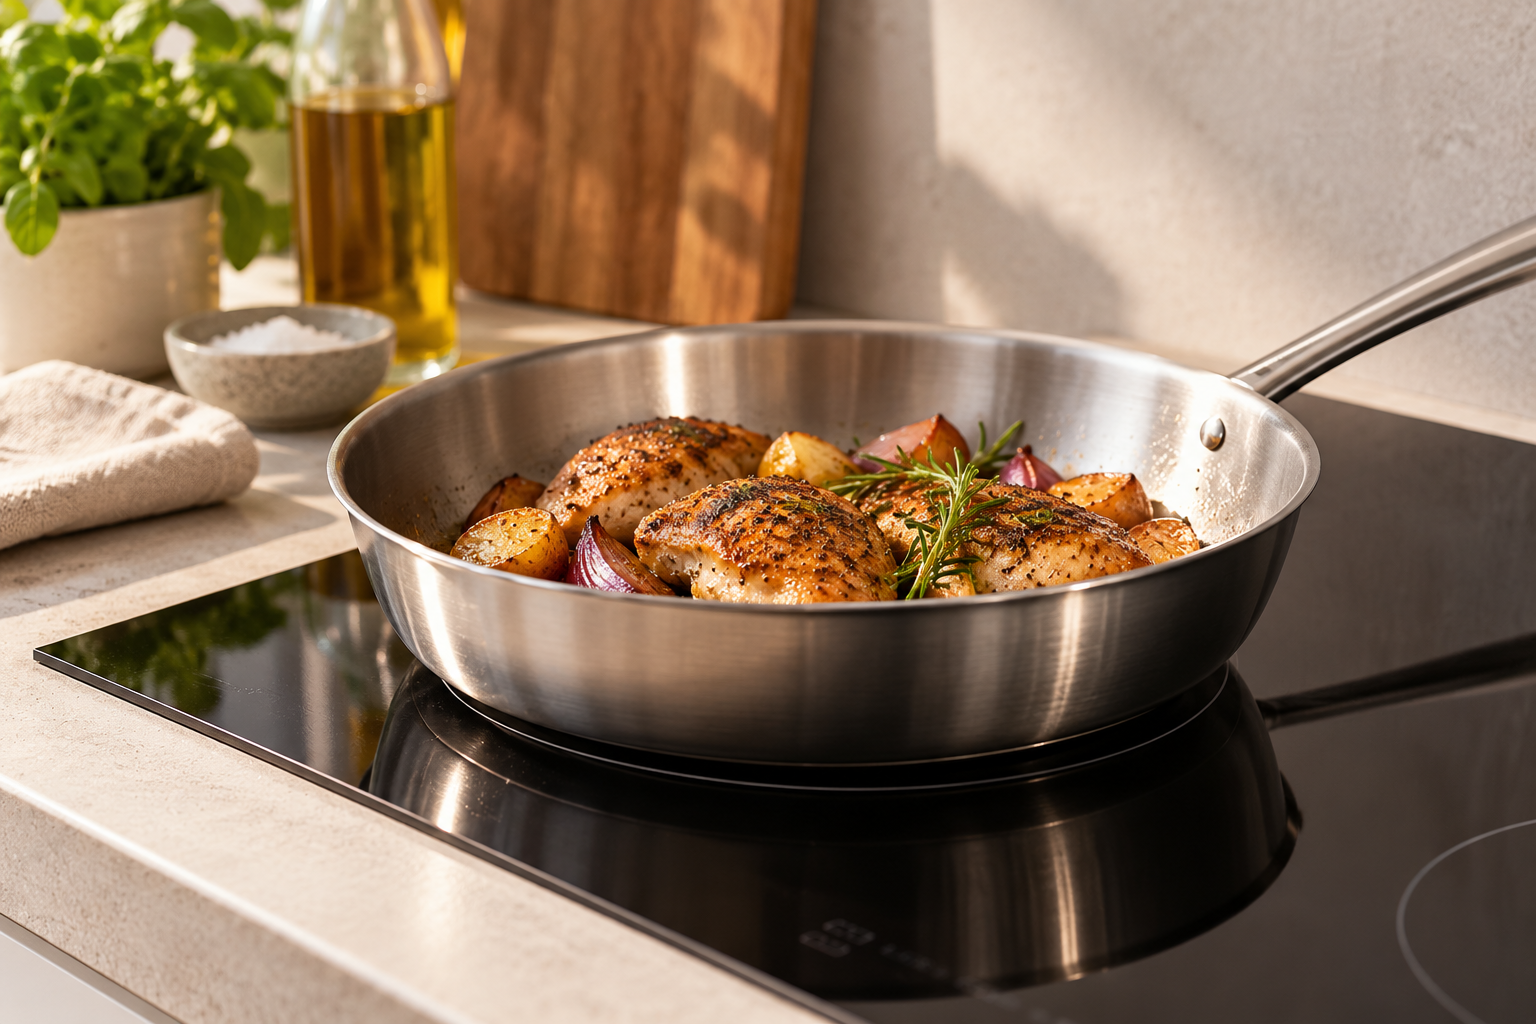
Gas changes quickly when you turn the flame. Induction can change the energy entering a suitable pan just as quickly, while the pan itself may hold heat. Solid electric and glass-ceramic plates usually respond more slowly because the cooking surface stays hot. On a slow plate, moving the pan partly or fully off the zone may correct an overshoot faster than turning the control down and waiting.
Preheat for the job, not by the clock
Preheating lets the cooking surface become even before cold food arrives. Too little preheat can make protein bond to bare metal and leaves vegetables releasing water before they colour. Too much can scorch the fat and the food's surface on contact. There is no universal time or setting: pan thickness, material, food quantity and stove output all change the answer.
For an uncoated stainless-steel or cast-iron pan, begin at a moderate setting and allow the base to warm gradually. The material-specific care guides explain the appropriate readiness cues in more detail.
For non-stick cookware, follow its instructions. A useful general habit is to put the fat in before or early in heating so you can see it loosen and move; do not leave a coated pan heating empty.
If oil runs freely and shows a light shimmer, it is ready for many frying jobs. If it gives off persistent smoke, remove the pan from the heat and let it settle rather than adding food to cool it forcibly.
Butter gives a visible cue as its water foams away. If its milk solids darken before the food goes in, lower the heat or start again with a clean pan.
Why food sticks
Sticking has more than one cause. Food can meet bare metal before the pan is ready; a cold, wet ingredient can collapse the surface temperature; protein can be turned before a crust has formed; or burnt residue can act like glue. Dry the surface of the food, use enough fat for the method, leave space around each piece and wait for a natural release before forcing it loose.
Turning the dial higher is not the automatic cure. If the outside is already darkening, more heat makes the bond and scorching worse. Reduce the input, give the food time, and use a thin turner to test one edge. Delicate eggs and fish are often better suited to moderate heat in sound non-stick cookware; a hard sear is better suited to stainless steel or cast iron.
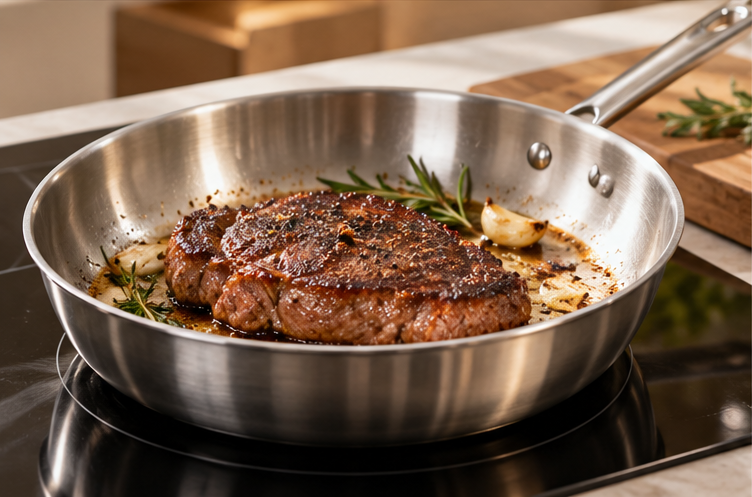
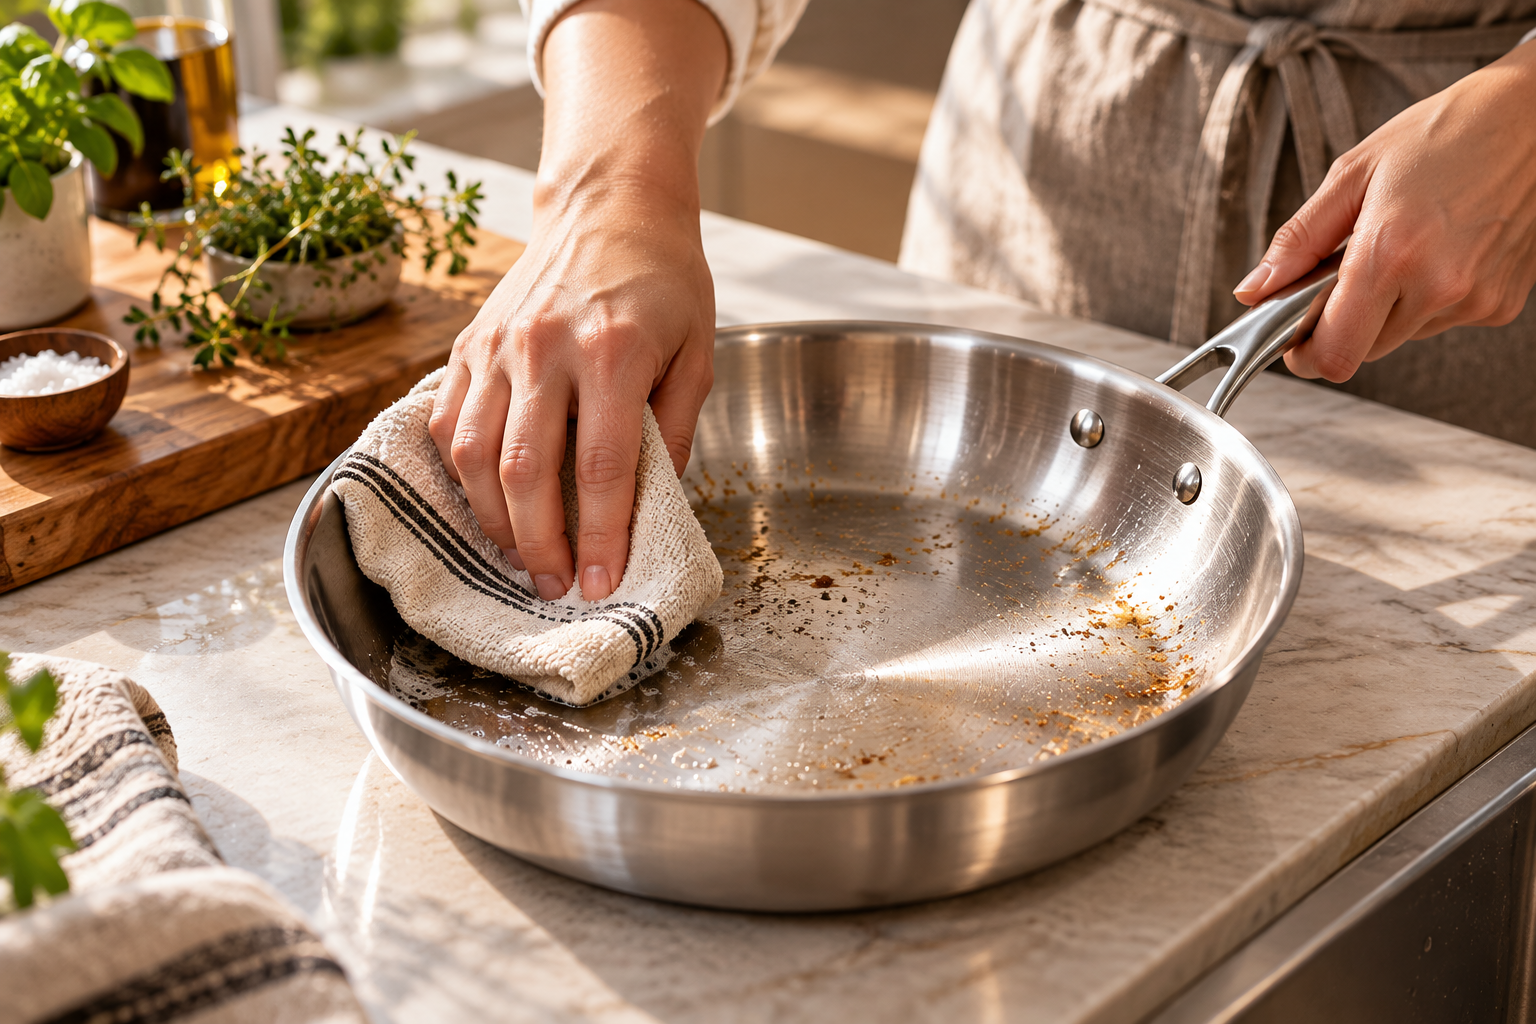
Uncoated stainless steel responds well to deliberate preheating and gives you browned residue that can become a pan sauce.
Why food will not brown
Browning needs the food's surface to dry. When a crowded pan fills with released moisture, the temperature at the food surface is held down while that water turns to steam. The result is pale meat or vegetables sitting in liquid, even when the control is high.
Pat wet ingredients dry and drain marinades before they enter the pan.
Use a pan with enough cooking area and leave visible space between pieces. If the food touches edge to edge, cook in batches.
Let the pan recover between batches. Remove loose burnt crumbs, add fresh fat if needed, and wait for the cooking cues to return.
Do not keep moving food that needs a crust. Contact with the pan and a little uninterrupted time are what create colour.
The temperature falls when food goes in
Every ingredient absorbs heat. A small amount of food in a heavy pan causes a modest drop; a large batch from the fridge can take away more heat than the stove replaces. Listen after adding it: a lively but controlled sizzle says the pan is recovering, silence suggests it has cooled too far, and violent spitting or immediate blackening suggests it was too hot.
You may need a brief increase after adding a batch, then a reduction once the surface has browned. Do not leave the setting fixed just because it was right during preheating. On induction and gas, make smaller changes and watch the response; on a solid plate, anticipate the delay or move the pan to a cooler zone.
How pan materials change the rhythm
Stainless steel varies by construction. A well-made clad or sandwich base spreads heat, but the uncoated surface still needs the right preheat, fat and release time. Its browned residue is useful for deglazing.
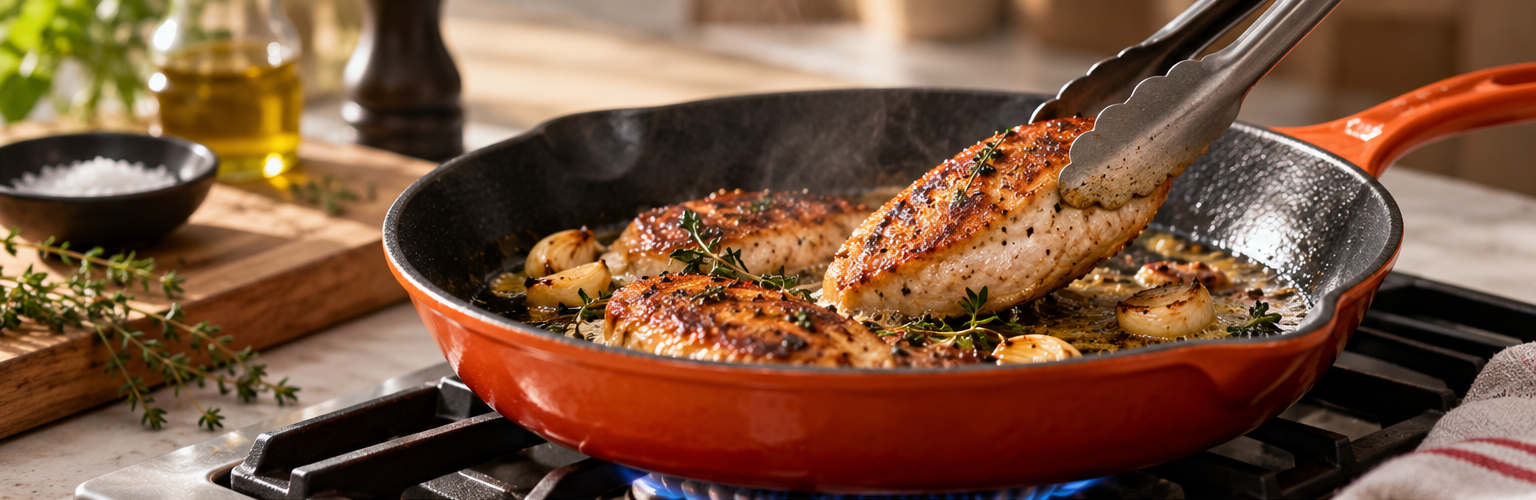
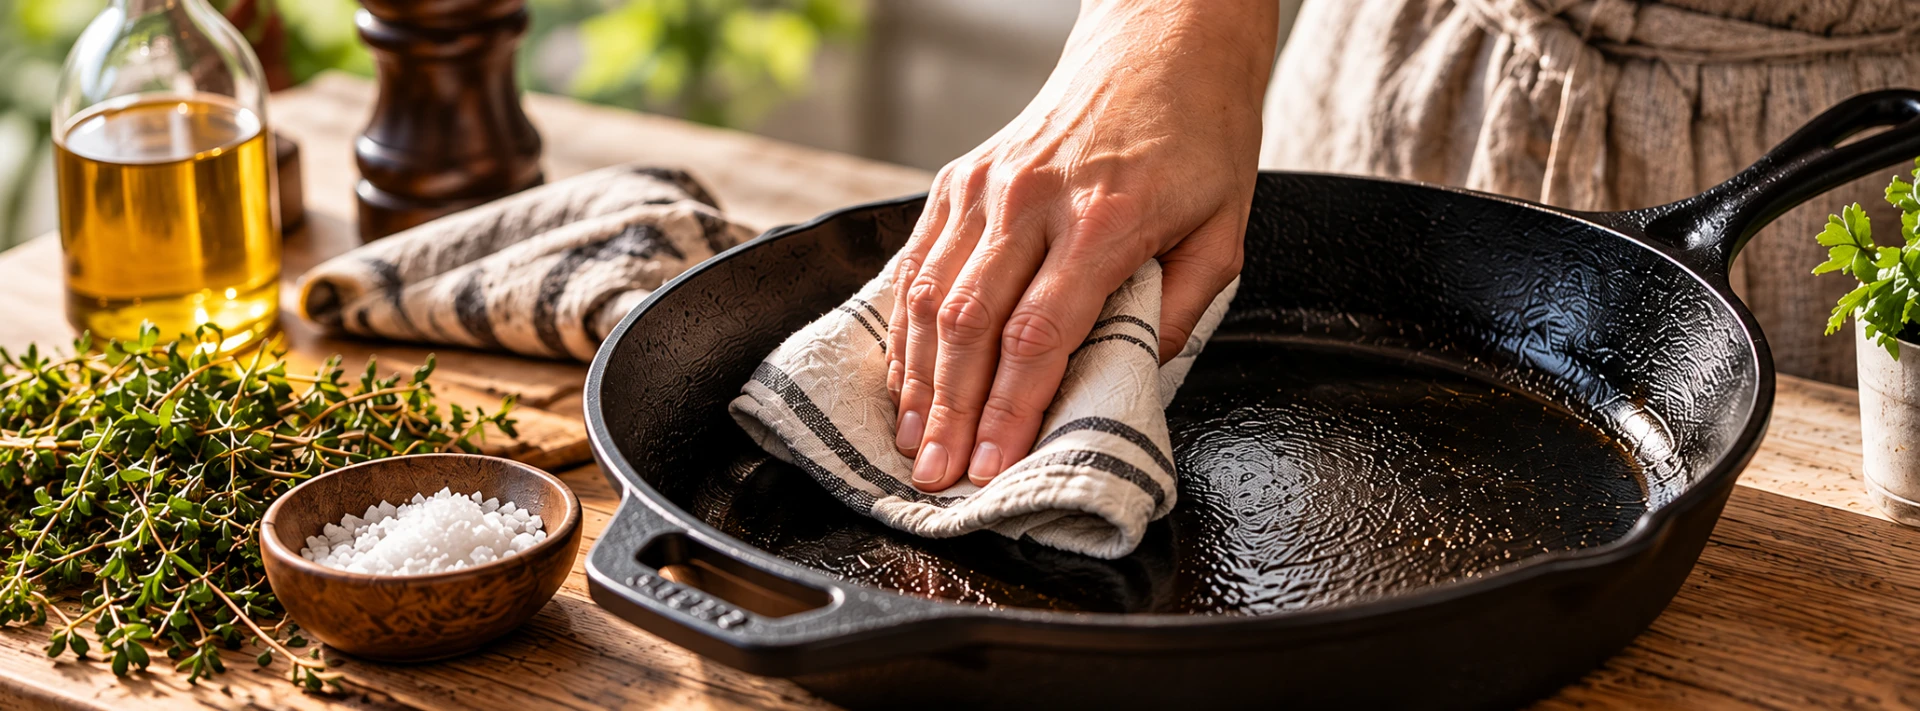
Cast iron takes longer to warm and gives heat back slowly. Preheat it gradually, then reduce the stove earlier because the pan keeps cooking after the dial moves.
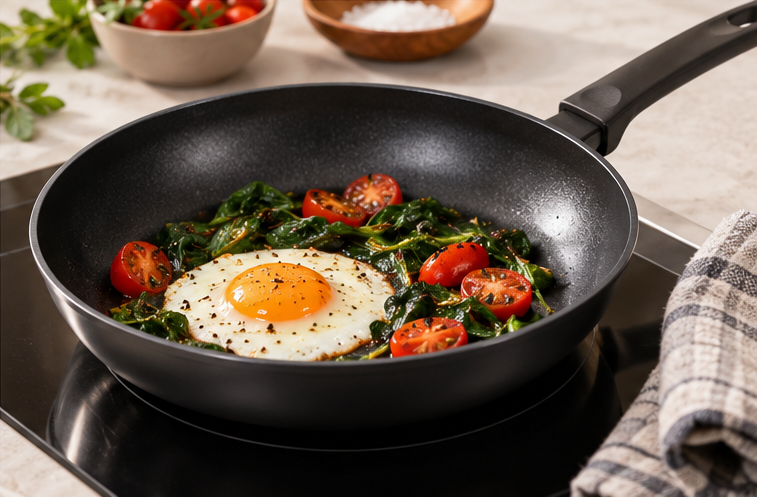
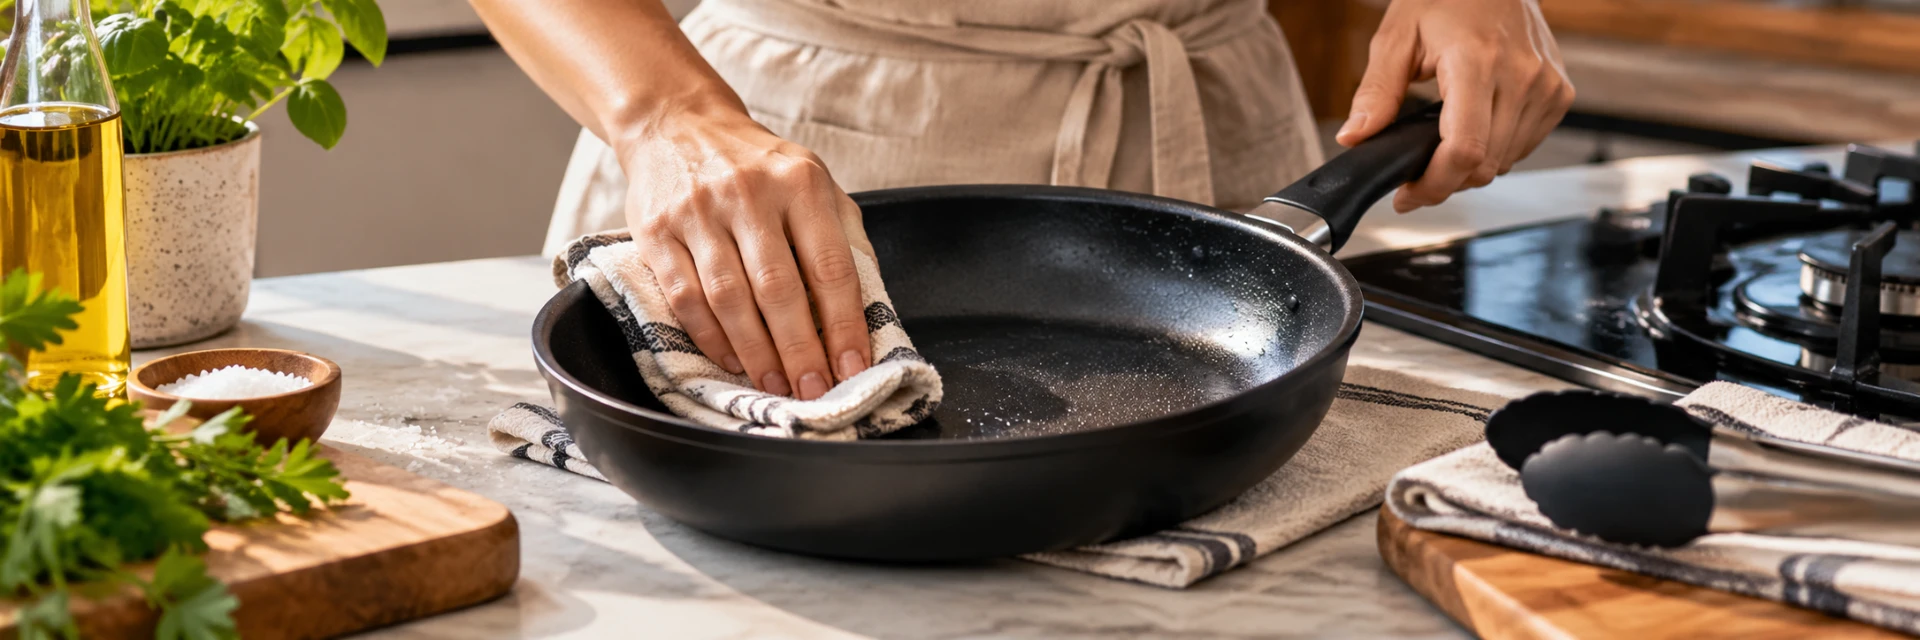
Non-stick pans are usually quick to handle and good for delicate food at moderate heat. They are not the place to chase an aggressive sear; follow the maker's heat guidance and use the care article for coating-specific practice.
A non-stick pan is best treated as a moderate-heat tool for controlled release, not as an uncoated searing surface.
Match the burner or zone to the base
Heat should enter the useful flat part of the pan. A small gas flame under a wide base creates a hot centre and cool edge; flames licking around the side waste heat and can overheat handles. On electric and induction hobs, centre the pan on a zone close to the diameter of its flat base. A warped base or poor contact makes heat less even. For induction detection and zone sizing, use the separate induction and oven compatibility guide.
Searing, simmering and heat recovery
Searing needs a dry surface, direct contact and enough stored heat to brown before moisture collects. Simmering needs steady, gentler energy: bubbles should rise without the liquid hammering the food or reducing faster than intended. When a seared dish becomes a sauce or braise, lower the heat before adding liquid, then bring it back only to the simmer the recipe requires.
A heavy pan recovers slowly after cold food is added but also resists sudden swings once hot. A lighter pan may recover quickly and then overshoot. Learn the lag in your own cookware: make one control change, watch what happens, and change it again only when you have seen the result.
Deglazing is a heat-control step
After searing in an uncoated pan, lower the heat and check the residue. Brown is useful; black tastes burnt and should not be built into a sauce. Pour off excess fat, add a suitable liquid carefully, and scrape as it bubbles. The liquid stops further dry browning and dissolves the fond, while the reduced heat keeps it from evaporating before the residue lifts. Follow the recipe and cookware instructions when choosing the liquid; take particular care with acidic liquid in bare cast iron.
Troubleshooting at the stove
Food sticks immediately: the pan may not have been ready, the food may be wet, or there may be too little suitable fat. Do not tear it free; lower the heat if it is colouring too fast and test for release after a crust forms.
Food scorches before it cooks through: move the pan off the heat, lower the setting, and use a gentler method or smaller pieces. A thick ingredient often needs searing followed by lower heat rather than high heat throughout.
Food is pale and wet: remove some of it, pour away excess liquid if the recipe allows, and let the pan recover before the next batch.
The outside is burnt and the centre is raw: the pan was too hot for the food's thickness. Stop the direct sear and finish more gently according to the recipe and the cookware's approved uses.
One part of the pan burns: centre it, match the burner to the flat base, and check whether the base rocks. Rotate food only if your stove has a known uneven zone; do not compensate with maximum heat.
The next batch burns: the pan and residue are hotter than they were at the start. Reduce the input, clear black crumbs and add fresh fat before continuing.
Where the material guides take over
This is the shared technique: preheat deliberately, manage moisture, leave room, then adjust the heat after the food arrives. Use the stainless-steel, cast-iron and non-stick care guides for each surface's cleaning, seasoning, utensils and limits. Use the cookware comparison when deciding which material suits a cooking job, and the induction and oven guide when compatibility — rather than pan control — is the question.