
How To
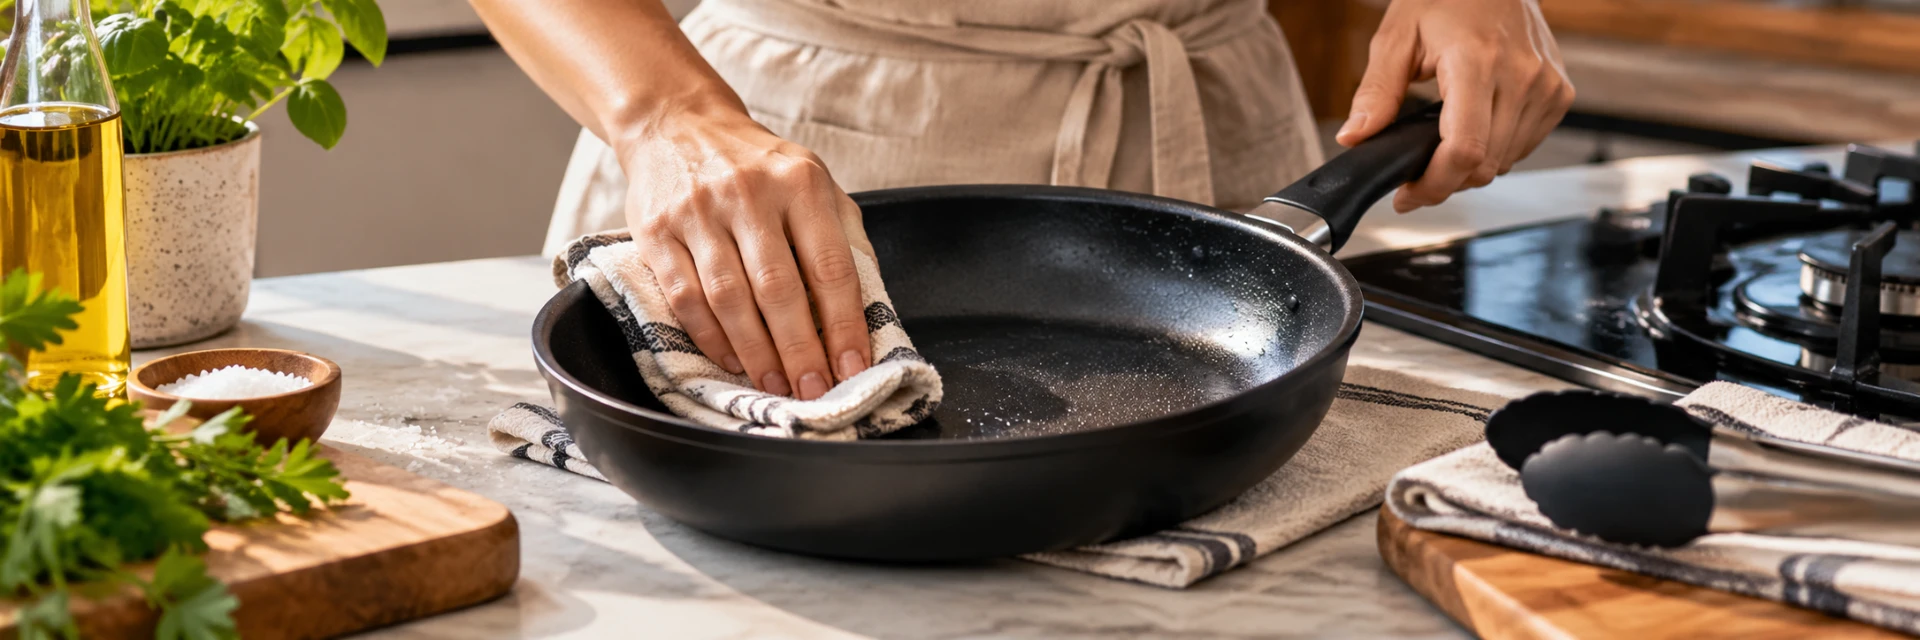
How to care for non-stick cookware
First use, heat control, utensils, cleaning, storage and the honest signs that a coating is finished — a practical guide to making non-stick cookware last.
Most baking disappointments come down to the pan, not the recipe. The right size, material and preparation — plus a few oven habits — make the difference between a bake that sticks, sinks or scorches and one that turns out cleanly.
By Cookin · 26 September 2026 · 5 min read
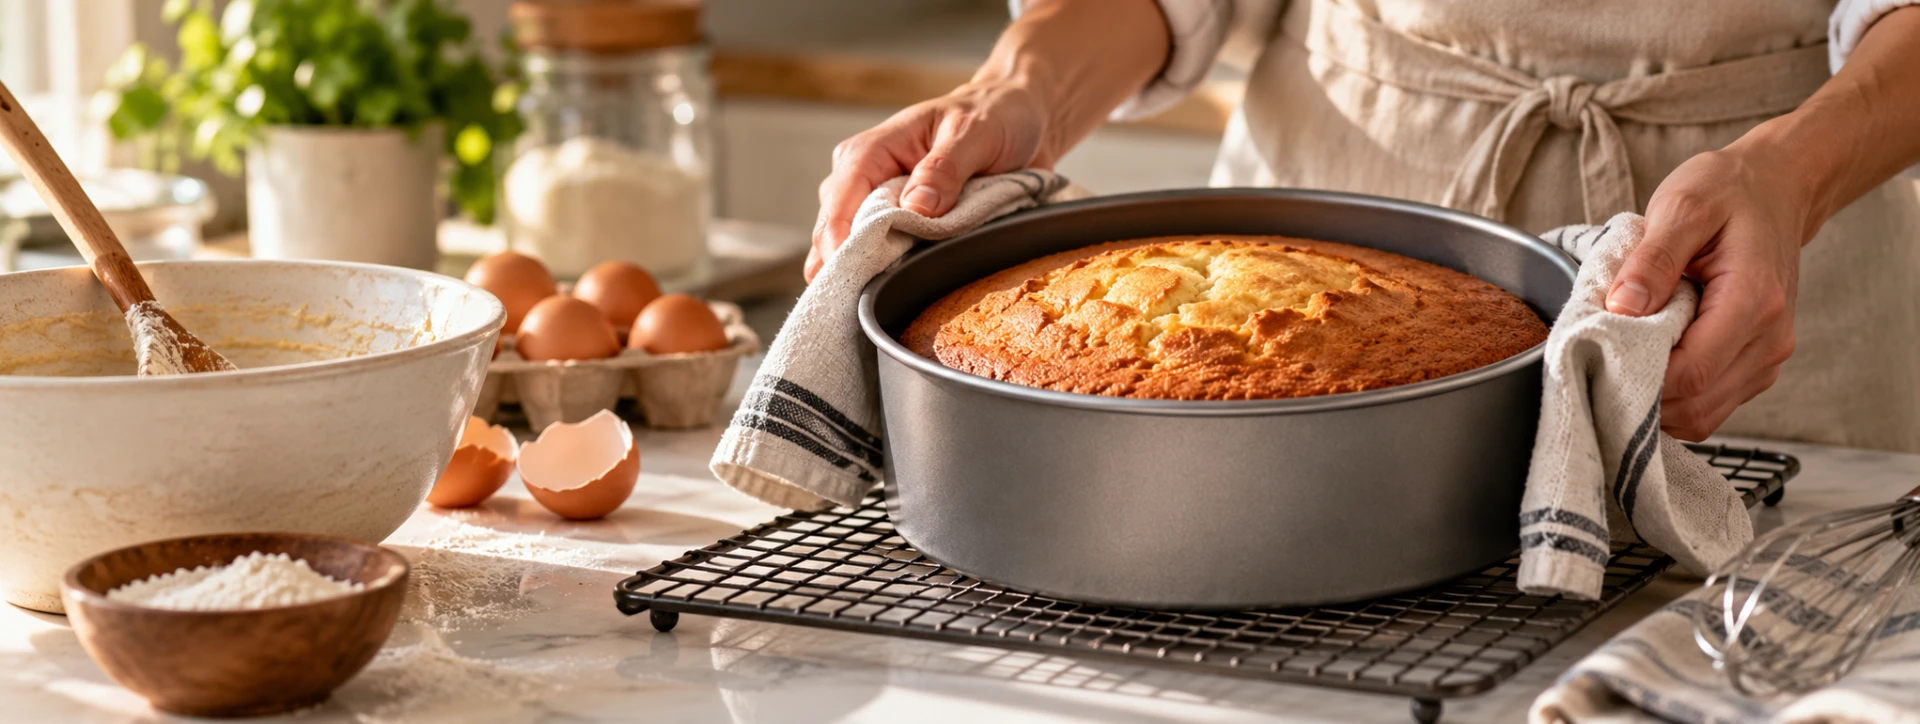
Baking is less forgiving than stovetop cooking: once the tin is in the oven, you cannot stir, taste or adjust. That means the pan you choose, how you prepare it and how your oven behaves do most of the work. The good news is that these are all things you can control before the door closes.
Recipes are written for a specific tin for a reason. A deep cake pan holds a thick batter that needs time for heat to reach the centre; a shallow sandwich pan bakes a thin layer quickly; a loaf tin supports a heavy dough as it rises; a flat tray exposes biscuits and roasted vegetables to direct heat. Using a very different shape or depth changes how the bake cooks, not just how it looks.
You do not need to memorise metallurgy, but the broad behaviour of each material is worth knowing because it changes results:
None of these is best overall. A well-made tin in any material bakes well when it is the right size, properly prepared and matched to the recipe.
Batter depth decides baking time. The same batter in a larger, shallower tin bakes faster and can dry out; in a smaller, deeper tin the outside can overbake before the centre sets. When a recipe names a tin size, treat it as part of the ingredient list. Measure across the inside top of the tin, in centimetres, and note the depth too — a 20 cm sandwich pan and a 20 cm deep cake pan are not interchangeable.
If you must change tin size, keep the batter depth roughly similar to the original and expect to adjust the time: shallower bakes need less time, deeper bakes need more. There is no reliable universal conversion, so check early and often — a skewer in the centre and the look of the edges tell you more than the clock. When in doubt, bake at the recipe's temperature and adjust time, rather than raising the temperature to compensate.
Preheat fully before the tin goes in. Batter that sits in a cold or half-heated oven rises and sets differently, and timings stop meaning anything. The middle rack is the default for even heat; higher positions brown tops faster, lower positions firm up bases. If you bake two trays at once, leave space around each for air to circulate and swap their positions partway through — crowding the oven slows and evens out browning in unpredictable ways.
Oven thermostats drift, and many home ovens run hotter or cooler than the dial says. If your bakes consistently finish early or late, an inexpensive oven thermometer tells you what your oven actually does, and you can adjust the dial to match. Also resist opening the door in the first two-thirds of a bake — the rush of cooler air can collapse a rising cake.
Let tins cool before washing — a hot tin plunged into cold water can warp, and warped tins bake unevenly. Soak off baked-on residue rather than scouring it; abrasives scratch non-stick coatings and seasoned surfaces. Some bakeware is labelled dishwasher safe, but handwashing is gentler on coatings and finishes — follow the maker's instructions for your specific tin. Dry thoroughly before stacking, and nest tins with a sheet of paper or a cloth between them to protect surfaces.
Replace a tin when the non-stick coating is flaking or deeply scratched, when it has warped enough to wobble on a flat surface, or when rust appears on exposed metal. A tin that releases poorly despite proper preparation has usually reached that point.
Where to look next
How To
First use, heat control, utensils, cleaning, storage and the honest signs that a coating is finished — a practical guide to making non-stick cookware last.
How To
Seasoning, heat control, oils, cleaning, drying, rust, acidic food and storage — a practical guide to keeping bare and enamelled cast iron cooking well for decades.
Kitchen Knowledge
How to check cookware for induction and oven use: magnetic bases, the magnet test, induction adapters, cooking-zone size, handles, lids, coatings and manufacturer limits.

Buying Guides
A short, honest equipment list for a first flat, a self-catering rental or an Airbnb kitchen — what to buy well, what to buy cheaply, and what to skip entirely.